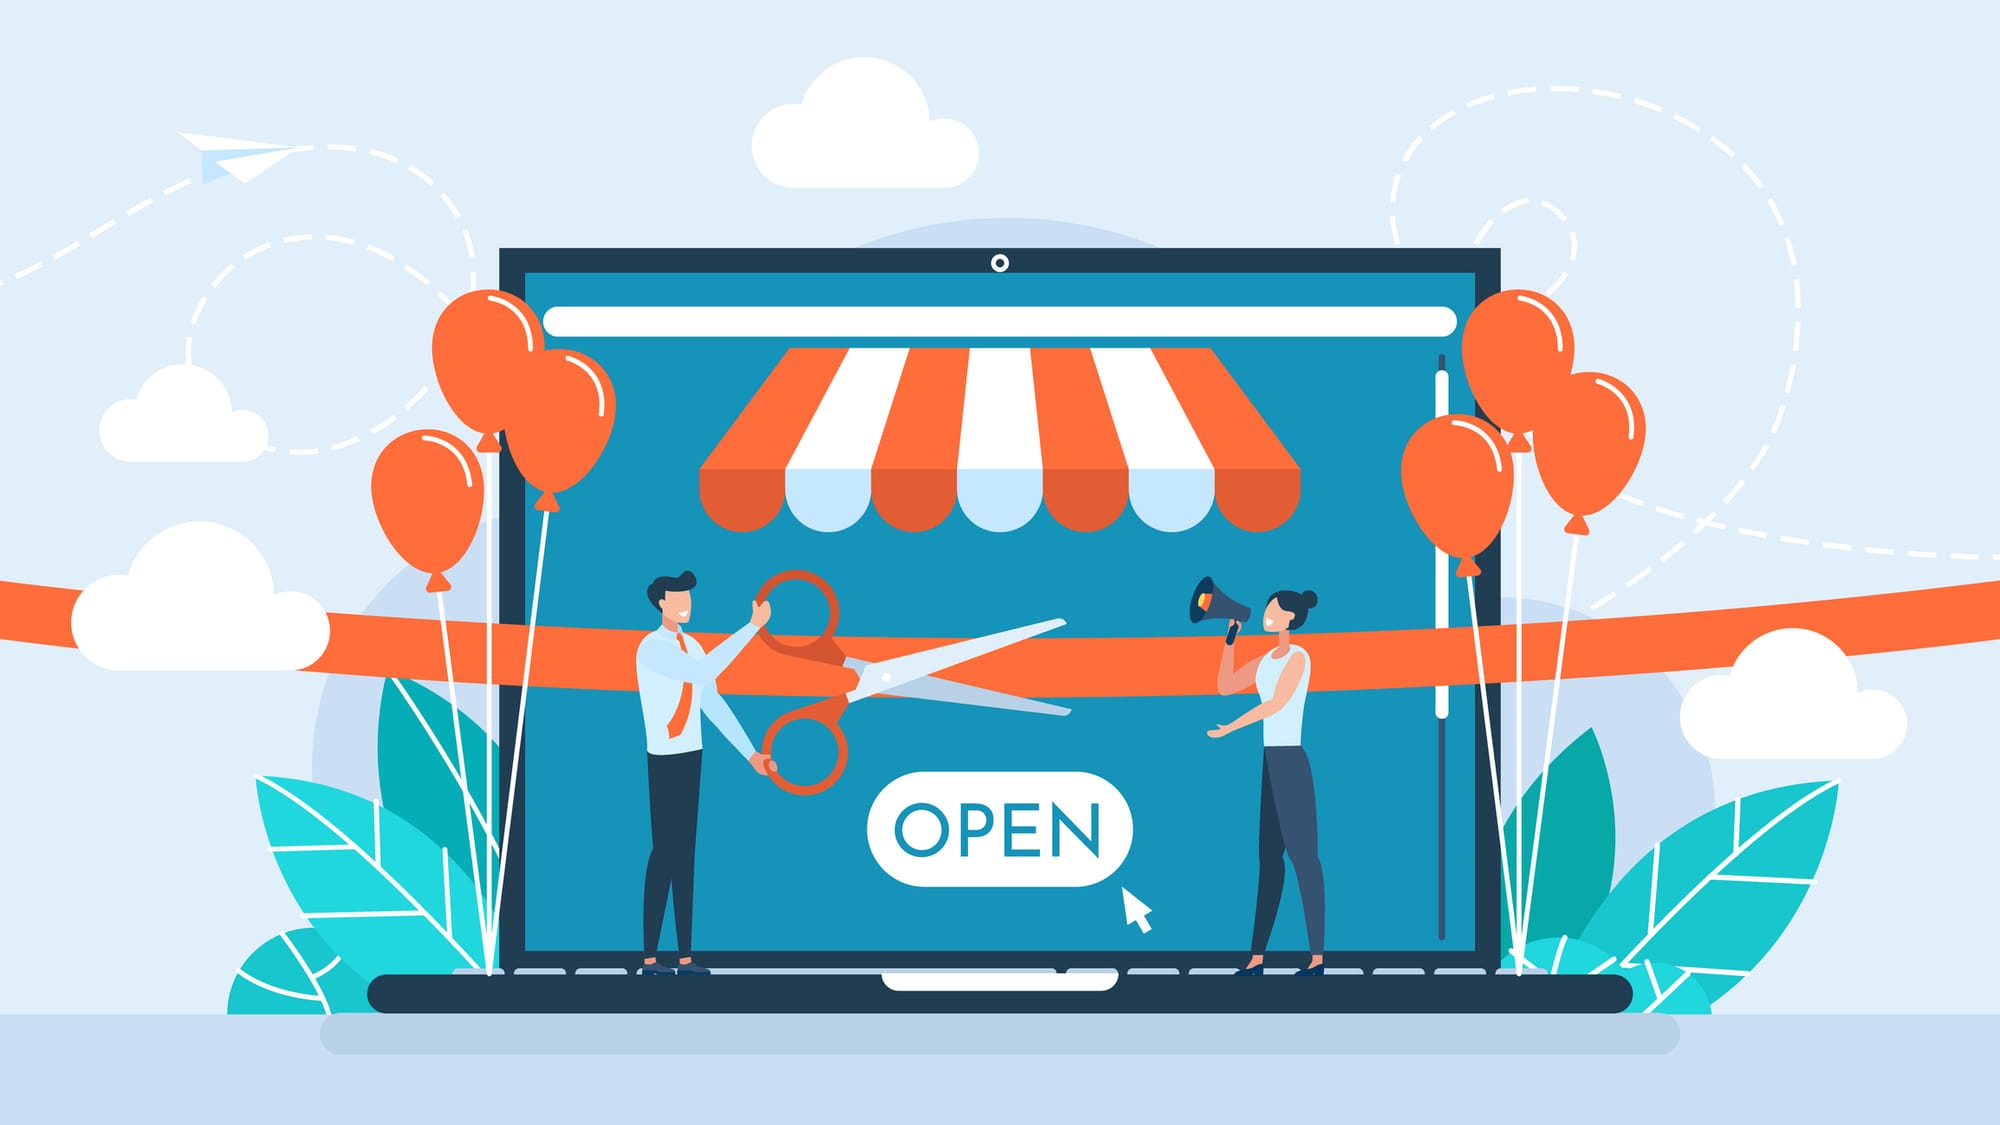
How to Build an E-Commerce Website: A Step-by-Step Guide

No one wants to make an online purchase on a sketchy-looking website or struggle with a frustrating shopping site. If an e-commerce site demands you to create an account, asks for an excessive amount of personal information, and requires multiple steps to complete a payment, it’s easier to abandon the cart and move on.
After all, online shopping is supposed to be a hassle-free alternative to visiting a physical store.
Needless to say, creating a visually appealing and easy-to-navigate e-commerce website for your business is an investment worth making. If you’re still on the fence about setting a side a budget for website development, here’s a hard truth: A survey of 6,000 online shoppers in the U.S. and Europe revealed that 60% abandoned their purchases due to poor website experience.
The top reasons? Requiring customers to create an account before checkout and the lack of trust in the website’s security when entering payment details.
If you're planning to launch your online store, let’s make sure your site is set up for conversions. So, grab your notes as we walk through everything you need to prepare, step by step!
Why is a Standalone Website Necessary?
Marketplaces like Amazon and Shopee are great for visibility because that’s where customers typically shop. But relying solely on these platforms limits your brand’s reach. Let’s break down why having a standalone e-commerce website is a great-to-have for businesses:
- Your brand, your rules. Marketplaces let you sell products, but they don’t let you fully control your brand’s identity. With your own website, you customize everything—from layouts and product photography to seasonal themes and promotions. Want a holiday-themed storefront? Go for it. Prefer bold, eye-catching colors? Your call. It’s your store, your style, your rules.
- You own your customer data and can make the most of it. Your own site gives you full access to customer data. Track shopping habits, preferences, and trends to create personalized marketing campaigns and drive repeat purchases.
Plus, having direct access to customer information means you can run highly effective email marketing campaigns, send abandoned cart reminders, and offer exclusive promotions.

- You have full flexibility when it comes to payment and shipping options. A standalone website lets you integrate multiple payment gateways (e.g., credit cards, PayPal, Apple Pay) and offer flexible shipping solutions that fit your business model. The easier you make it for customers to check out, the higher your conversion rates.
- You can take advantage of the SEO and marketing opportunities. Having a separate e-commerce site helps you attract customers organically through SEO and content marketing. By optimizing your site for search engines, you can rank higher in search results.
Creating helpful content like blogs, guides, and FAQs brings in organic traffic. Ranking higher in search results means customers come to you instead of the other way around.
Ready to dive in? Here are the practical steps to build an e-commerce website.
Step 1: Define Your Goals and Choose Between a Website Builder or a Web Developer
Before deciding, ask yourself: What’s the main goal of your e-commerce website?
▶︎ If you want strong SEO and full customization, hiring a web developer is the way to go. Website builders can’t guarantee high search rankings or advanced customization.
▶︎ If you just need a simple site to showcase products—especially if you already have strong traffic from social media or marketplaces—a website builder might be all you need.
Here’s a quick breakdown:
| Criteria | DIY Website Builders (SquareSpace, Wix, etc.) | Hiring a Web Developer |
|---|---|---|
| Upfront Costs | Lower monthly/annual fees | Higher upfront cost |
| Ease of Use | Most website builders are user-friendly with drag-and-drop interface | Requires professional skills or outsourcing |
| Time to Launch | Quick setup, can launch fast | Takes longer due to planning and development |
| Customization | Limited to available templates and built-in features; may lack uniqueness if competitors use similar templates | Full control over design & functionality for a unique brand identity |
| SEO & Performance Optimization | Basic SEO features, may not be highly optimized | Optimized for better ranking on search engines |
| Recurring Costs | Recurring fees that add up over time | No recurring fees (aside from hosting and domain) |
The cost of hiring a web designer depends on several factors, including the type of design, project complexity, etc.
- Freelancers typically charge between $500 to $5,000, while agencies range from $3,000 to $10,000, offering full design, development, and support.
- Some agencies charge over $1,500 just for minor edits, while others provide deep customization for less.

If you're hiring a pro, make sure to get multiple quotes and review their work before making a decision.
Meanwhile, website builders like Shopify, Wix, and Squarespace offer beginner-friendly customization without requiring much technical skills. If you want more control and flexibility, WooCommerce is a great option, especially if you're already using WordPress—though some technical know-how is helpful.
Step 2: Pick a Domain Name
A domain name is your website’s address—what people type in to find your store (e.g., www.google.com).
Some platforms, like Shopify, offer free subdomains (e.g., www.[storename].myshopify.com) to help you start on a budget. These are great for testing and building your business early on. However, as your brand grows, getting your own domain makes your store look more professional and credible.
How to Choose the Right Domain Name
- Keep it Short and Brand-Appropriate: Choose a memorable, easy-to-spell name that represents your brand. Avoid hyphens and numbers to keep it simple.
- Choose a Top-Level Domain (TLD):
.comis the most trusted, but if unavailable, consider .store, .shop, or country-specific domains (.ca, .co.uk, etc.). - Consider Keywords: Adding words like "fashion," "tech," or "shop" can help with SEO, but only if it flows naturally with your brand.
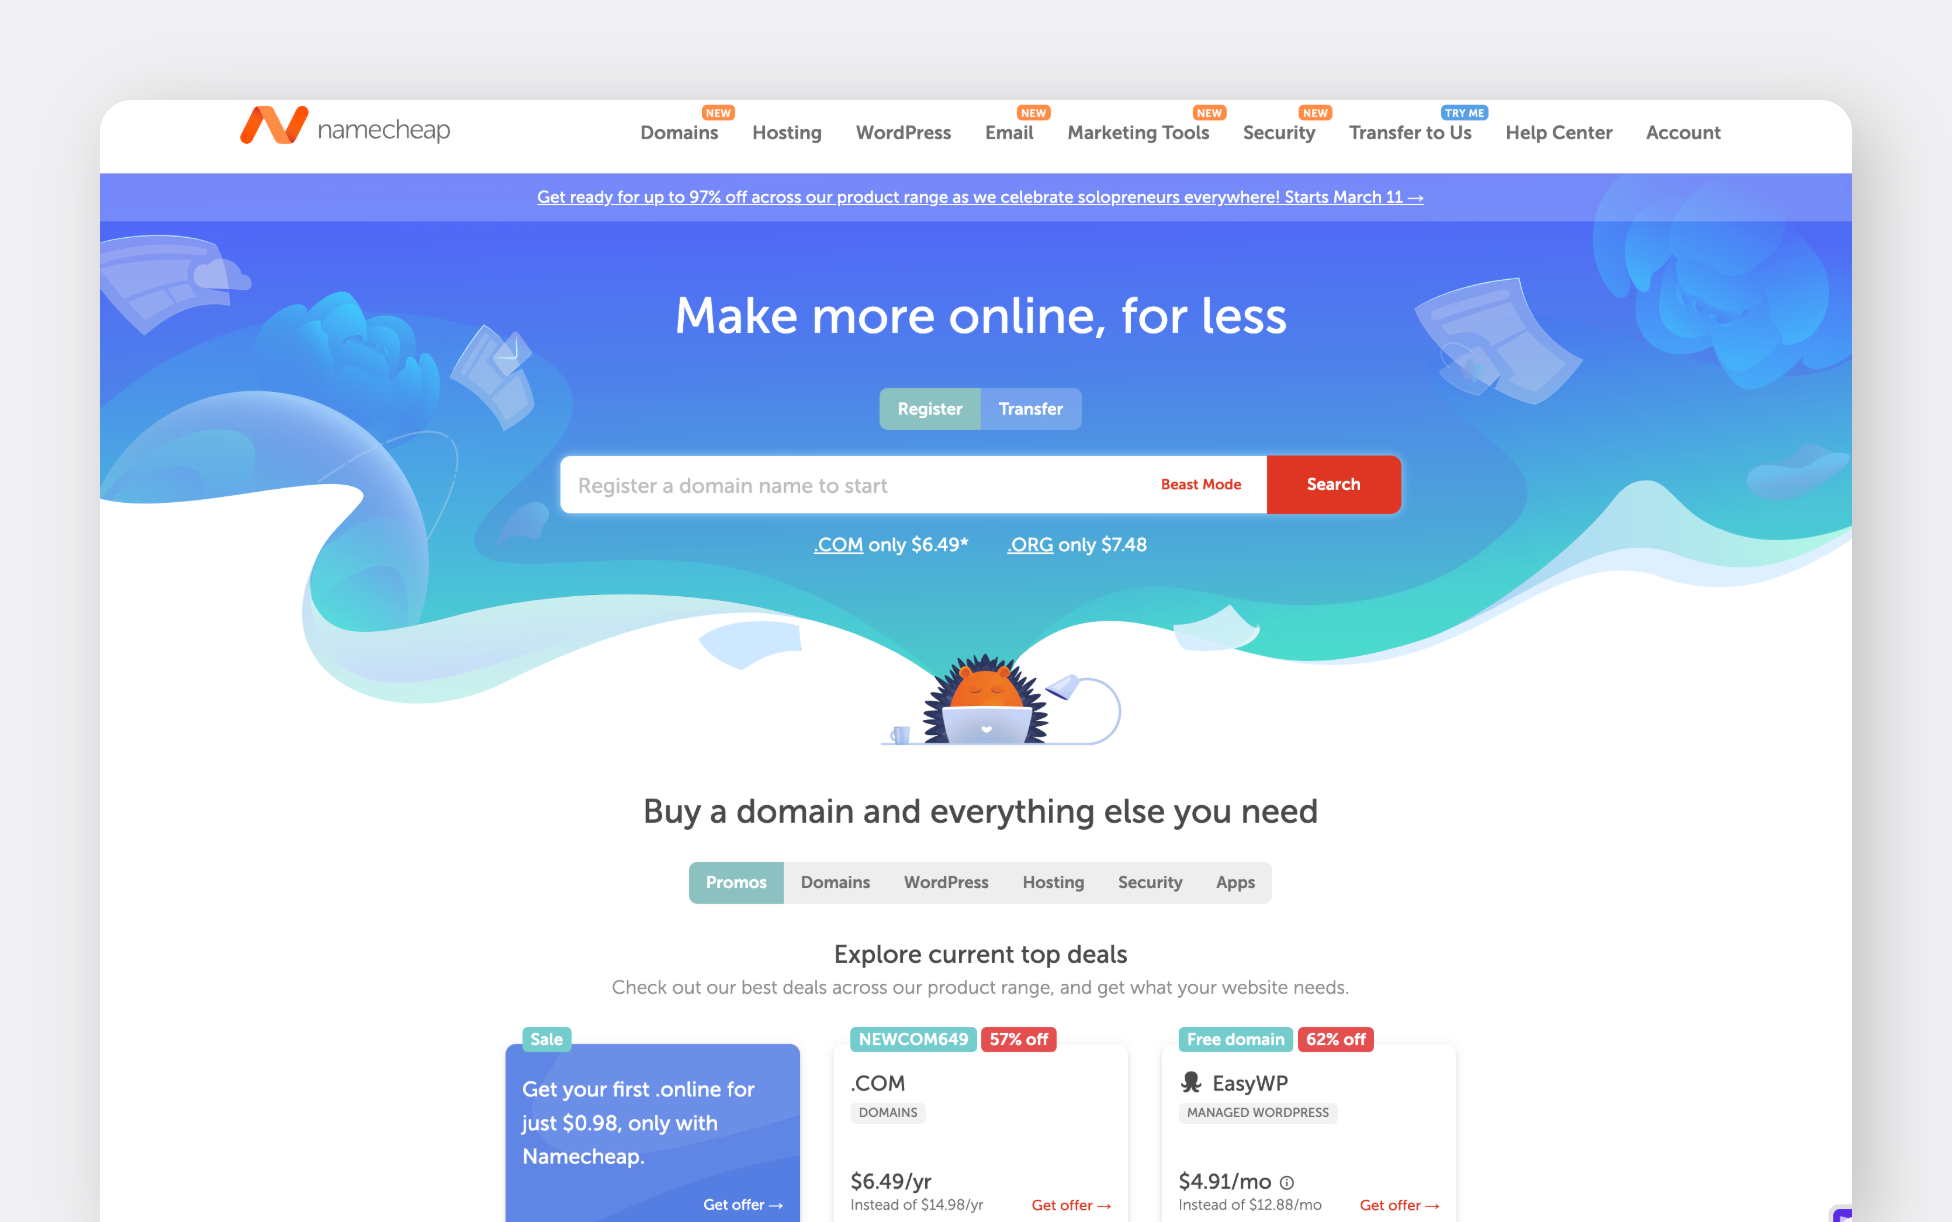
- Choose a Domain Registrar: When selecting a domain registrar (e.g., GoDaddy, Namecheap), consider:
- Pricing and renewal costs
- Features (e.g., free SSL certificates, domain privacy, web & email hosting)
- Reputation and customer support
- Security and domain management tools
- Options for domain transfers and add-on services
- Register Your Domain – Once you find the perfect domain, buy it immediately.
Step 3: Design Your Website and Add the Essential Pages
You know the drill. Start by uploading your product catalog and making sure your product descriptions are search-friendly so customers can easily find them.
If stringing words together to craft a message is not your thing, AI tools can generate product descriptions for you. But remember, AI-generated content doesn’t always mean authentic and appealing. If you want to build a deeper connection with your customers through compelling storytelling, hiring a copywriter is still a great option.
Once your products are set, it’s time to add the essential pages to make your website complete.
Must-Have Pages for Your E-Commerce Site:
- Homepage – The first impression that shows your brand and unique products.
- Contact Page – Address, phone number, email address, etc. so customers can easily reach you.
- About Page – Share your brand story and mission.
- FAQ Page – Answer common questions to improve customer experience.
- Shipping & Returns Policy Pages – Clearly outline shipping times and return processes.
- Terms & Conditions + Privacy Policy – Important for legal compliance and customer trust.
- Customer Testimonials – Build credibility by showcasing real feedback.

Step 4: Set Up Payment and Shipping Options
A smooth checkout process means more sales and fewer abandoned carts. Make it fast, easy, and secure with the right payment and shipping options.
Top payment gateways to consider:
- Shopify Payments: Integrates directly with Shopify; simplifies the payment process for store owners.
- PayPal: Widely recognized and trusted, supporting various payment methods.
- Stripe: Caters not just to online retailers, but also to subscription businesses and marketplaces. Primarily designed for online sales but also supports in-person payments through the Stripe Terminal POS system.
- Authorize.Net: A long-standing gateway supporting various payment methods, suitable for businesses with existing Visa merchant accounts. Provides merchants with tools for online, in-person, and manual payments, along with customer information management and recurring billing.
- WorldPay: Supports international payments, making it ideal for businesses with a global customer base. Provides secure, integrated payment solutions to process credit card payments directly from a business's website.

Nope! This shouldn’t be mandatory. While having customers sign up can help with email marketing, customer retention, and personalized shopping experiences, forcing them to create an account before buying can increase cart abandonment.
Instead of requiring sign-ups, allow:
• Guest checkout for a fast and hassle-free experience.
• Optional account creation for those who want order tracking, faster checkouts, and exclusive perks.
Now, for shipping:
Offer multiple choices like standard, express, and international delivery to meet customer needs. Free shipping incentives can help increase conversions and reduce cart abandonment. Partnering with reliable carriers like UPS, FedEx, or DHL and using real-time shipping rates ensures fair and transparent pricing.
For hassle-free fulfillment, consider 3PL logistics services like Fulfillment by Amazon (FBA), where Amazon stores, packs, and ships your products from their fulfillment centers.
If you're a dropshipper, work closely with your manufacturer to establish clear delivery standards, quality control, and defect resolution—all of which should be outlined in your shipping and return policies to build trust and encourage repeat business.
Step 5: Get an SSL certificate
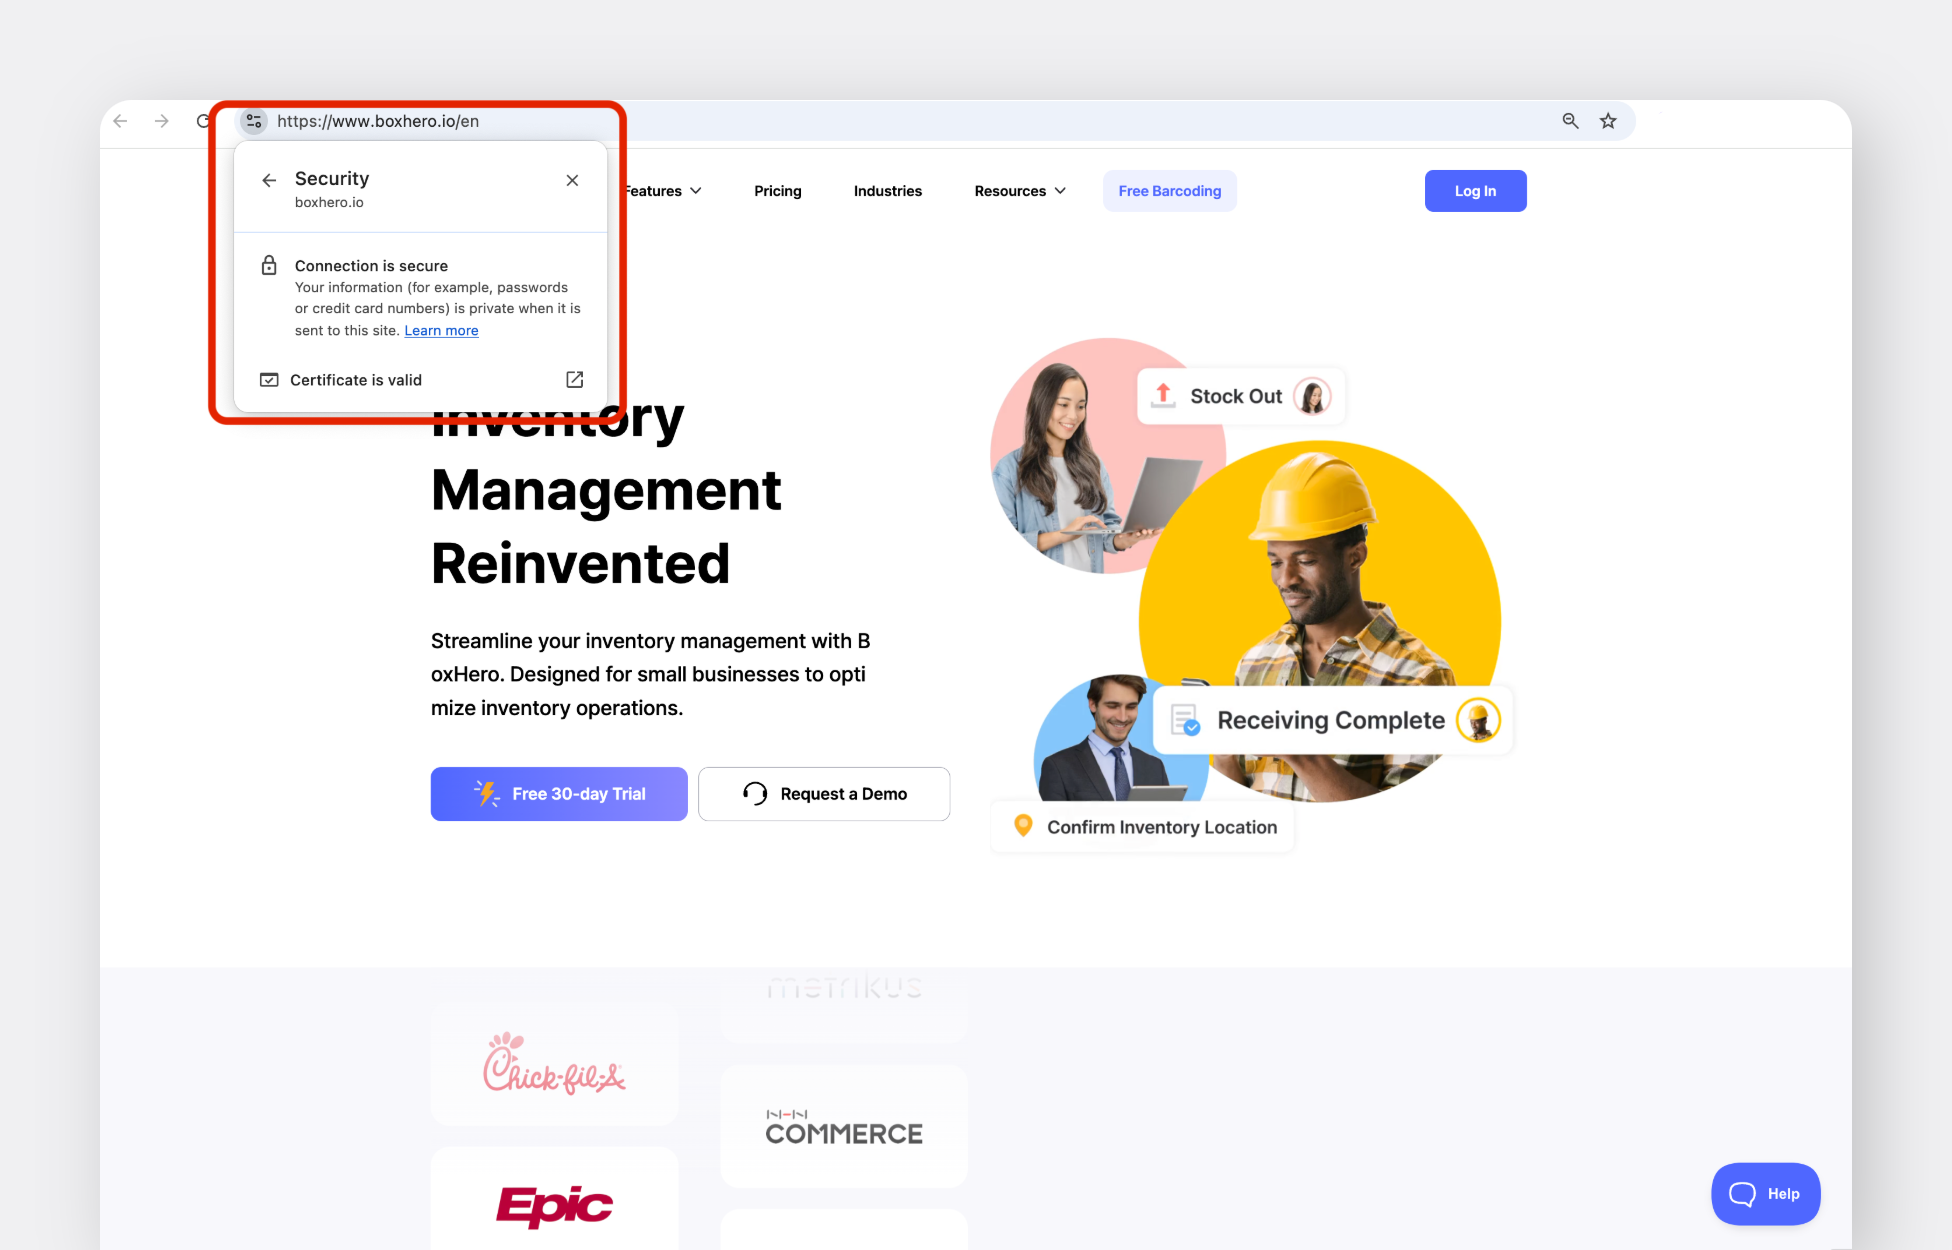
SSL (Secure Sockets Layer) is a security tool that encrypts data between a website and its visitors, protecting sensitive information like credit card details and personal data. An SSL certificate authenticates your website and ensures that customer information stays safe and private. If you run an online store, having an SSL certificate is a must.
How to Check If a Website Has SSL (For Online Shoppers)
- Look at the URL – If it starts with HTTPS, the "S" means the site has an SSL certificate and is secure.
- Click the Padlock Icon – This will show detailed SSL certificate information, confirming the site’s security status.
How to Get an SSL Certificate for Your Website
1. Through Your Hosting Provider
Many hosting providers, like Bluehost, include free SSL certificates in their plans or available for purchase. Here's a general approach:
- Check Your Hosting Plan: Some providers include free SSL certificates.
- Access Your Hosting Dashboard: Navigate to the security settings.
- Enable SSL: Follow the prompts to activate the SSL certificate for your domain.
For specific instructions, consult your hosting provider's support resources.
2. Using Let's Encrypt
Let’s Encrypt is a free and automated Certificate Authority (CA) operated by the Internet Security Research Group (ISRG). It provides SSL/TLS certificates to help websites enable HTTPS security at no cost. The goal is to make the web more secure and privacy-focused by offering a simple and user-friendly way to protect online data.
Is It Really Necessary to Get an SSL?
Yes! First, it helps with the Google ranking. Google favors HTTPS websites, so having an SSL can improve your search ranking and visibility.
Second, it builds customer trust. The padlock icon and HTTPS reassure customers that their data is safe and protected.
Lastly, it protects data integrity. SSL encrypts sensitive information, preventing interception and tampering by malicious entities.
Step 6: Add Integrations
Aside from payment gateways, consider integrating additional tools based on your business needs and priorities. Here are key solutions to consider:
- Email Marketing: Automate emails and promotions (e.g., Mailchimp, Klaviyo).
- Social Media Management: Schedule posts and track engagement (Hootsuite).
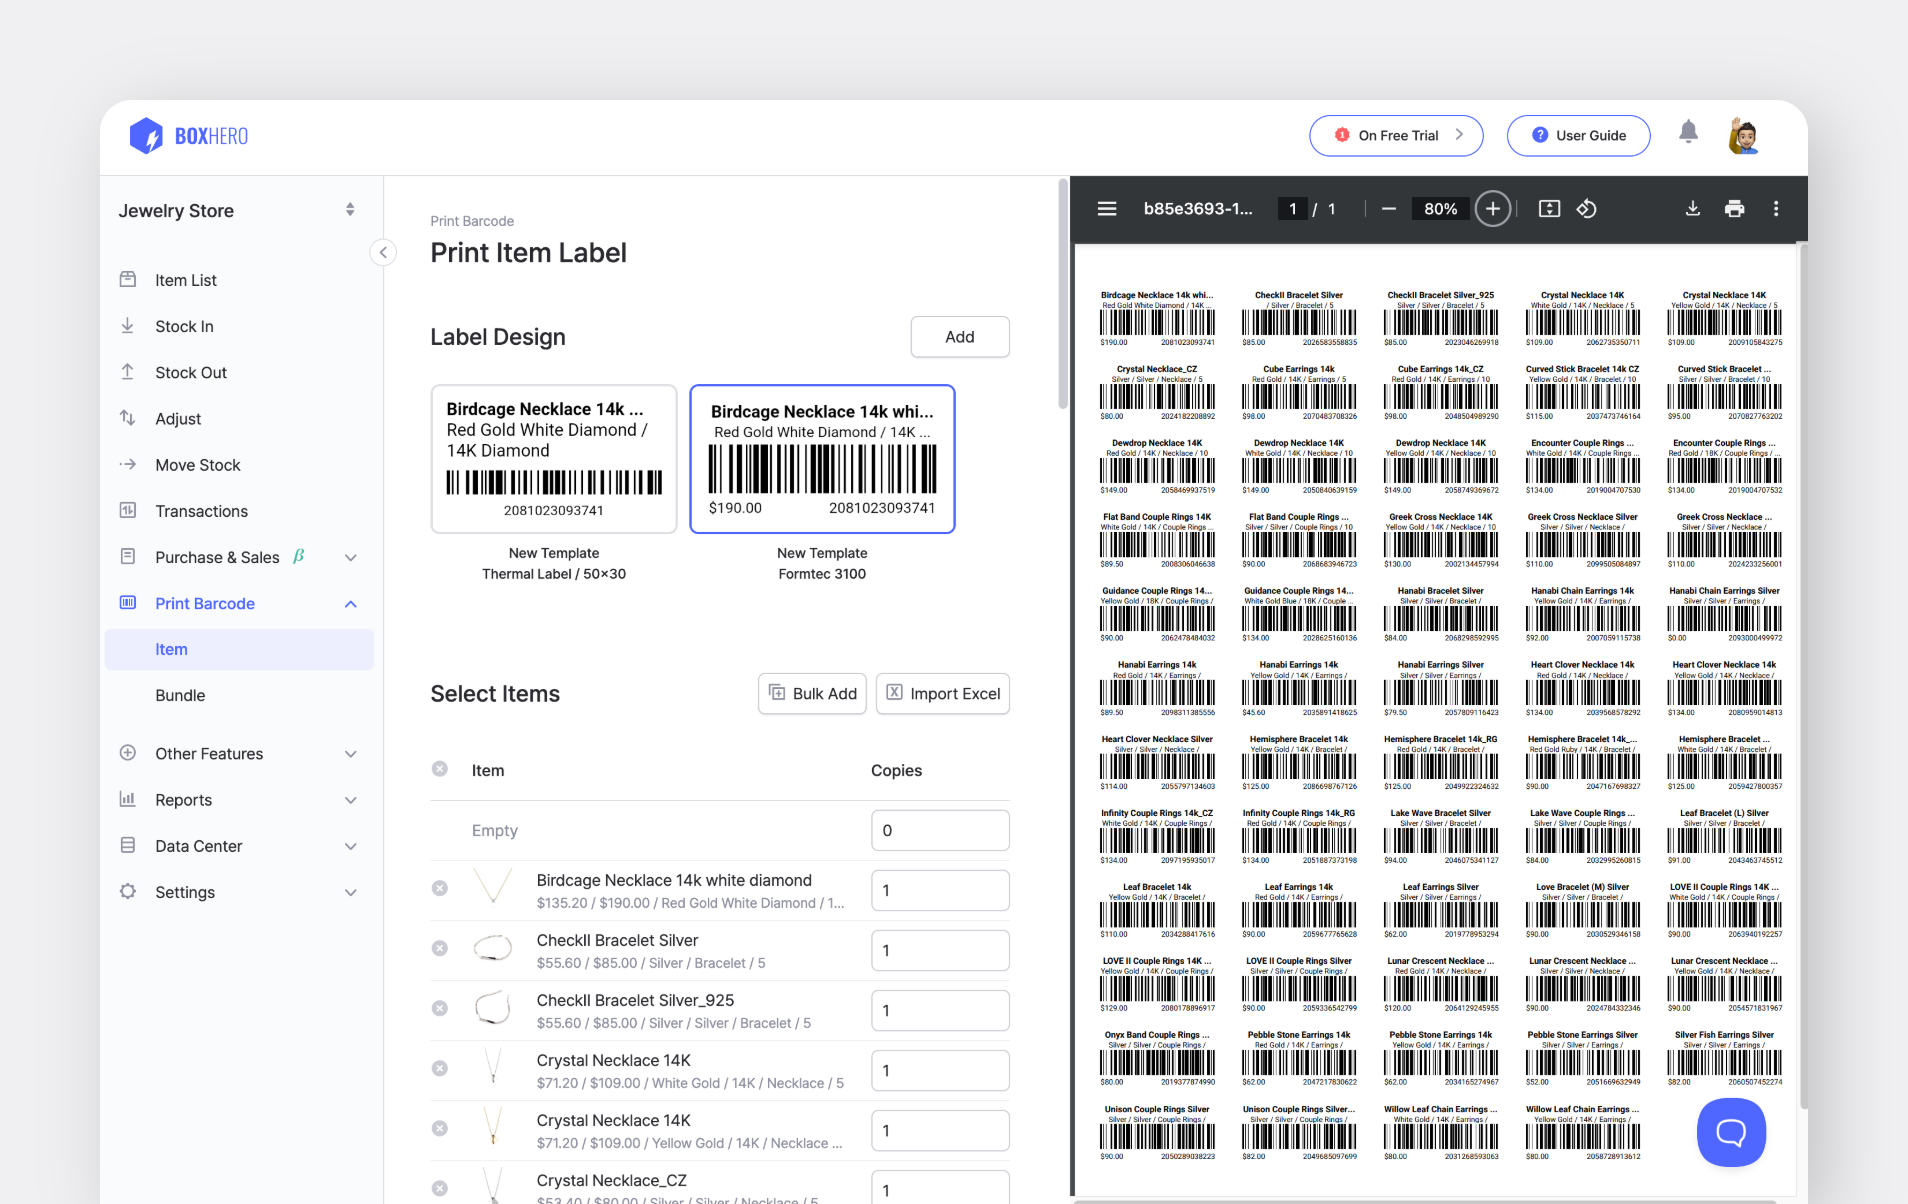
- Inventory Management: Monitor stock levels and prevent stockouts (BoxHero).
- CRM Software: Track interactions and manage sales (HubSpot).
- Customer Support: Offer instant help via chat or help desks (Zendesk).
- Accounting Tools: Automate bookkeeping and manage taxes (QuickBooks).
BoxHero's Business Plan starts at just $20/month per team, giving you access to all premium features, including low stock alerts, advanced analytics, and multi-locations. Opt for the annual plan and get a 10% discount, reducing the total to $216 (just $18/month)!
Try BoxHero for free with our 30-day trial and explore all features.
Step 7: Launch Your Website
Before launching, double-check everything. Test your website for smooth performance, fast loading, and an easy checkout. Ensure it’s mobile-friendly, since many customers shop from their phones. Once everything looks good, announce your launch across social media, email newsletters, and online communities.
So, That’s It?
Not quite! Launching is just the beginning. Be open to scaling, adding new integrations, and refining your website as your business grows. Listen to customer feedback, track analytics, and continuously optimize for better performance. As traffic increases, you might need better hosting, advanced features, or even a full site migration to keep up with demand.
Speaking of integrations, don’t forget to have a smart inventory management system in place. Give BoxHero a try.
- If you’d like a full walkthrough of all features, check out our user guide.
- Wondering what our 200,000+ users have to say? Check out our customer testimonials to see how BoxHero is helping businesses like yours succeed!