Utilizing BoxHero's Data Center for Effective Inventory Management
Are you still facing inefficiencies after adopting an inventory management solution? If so, the problem could be in how your data is being managed.
When your inventory data—item names, SKUs, barcodes, cost, price, and locations—don't match what’s actually in stock, data accuracy and reliability take a hit. This mismatch can result in poor decision-making and wasted time, effort, and resources.
To solve this, BoxHero offers a simple, intuitive data management feature that helps streamline your inventory processes. In this guide, we'll walk you through best practices for managing your inventory data in BoxHero so that you can maximize efficiency across your operations.
Managing Your Data in BoxHero: A Step-by-Step Guide
With BoxHero, managing your data is simple and efficient. Using the Data Center feature in the sidebar, you can easily view, add, edit, or delete data. If you’re using Basic Mode, you can manage your items, attributes, and partner data. If your team is in Location Mode, you can manage everything that was mentioned for Basic Mode, plus the items' location data.
Let’s take a closer look at each section to see how it works:
1. Items
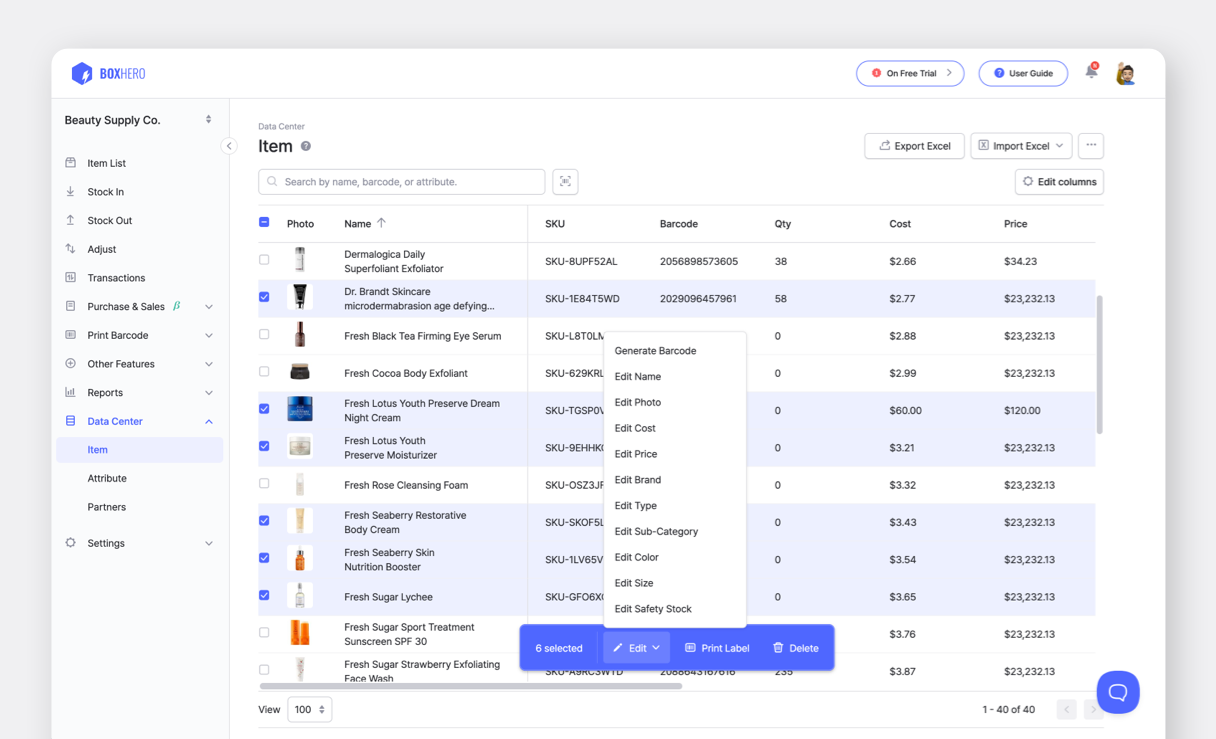
The Item section allows you to manage all the information about specific products in BoxHero's system. Here, you can view and edit basic details like item names, SKUs, barcodes, cost, and price, along with any custom attributes you’ve added. While you can do this on Item List, going to Data Center > Item allows you to take advantage of more advanced options for modifications.
A) Applying Uniform Changes in One Action
To help clear out excess stock, seasonal items are often marked down after their peak season. For example, let’s say you’re offering a discount on Brand A products, selling them at a flat rate of $10. In Item List, you’d have to manually adjust the price of each item. However, the Data Center > Item page allows you to select all the relevant items with a single checkbox and update the price for all of them at once.
B) Bulk Editing Different Item Information
If you’re planning to rebrand existing products, you’ll need to update various details like categories and pricing. In this case, the first method for bulk editing (i.e. applying uniform changes in one action) won’t work because it only allows you to update items to have the same information.
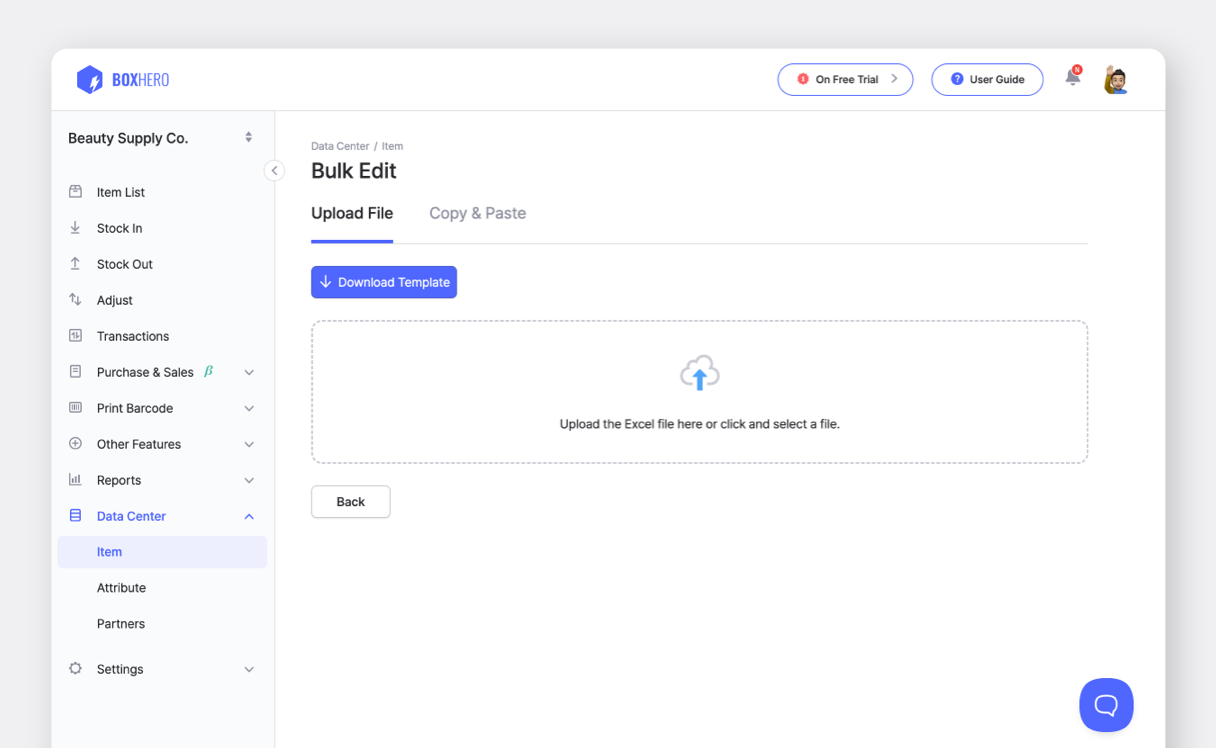
Instead, use BoxHero's Bulk Edit feature with Excel to change the information of multiple items and their attributes. Go to the Data Center > Item page, click on Import Excel in the top right corner, and select Bulk Edit to download the Excel template. Fill in the template with your updates and upload the Excel file back to BoxHero to make bulk changes to your item information.
C) Replacing Item Images in Bulk
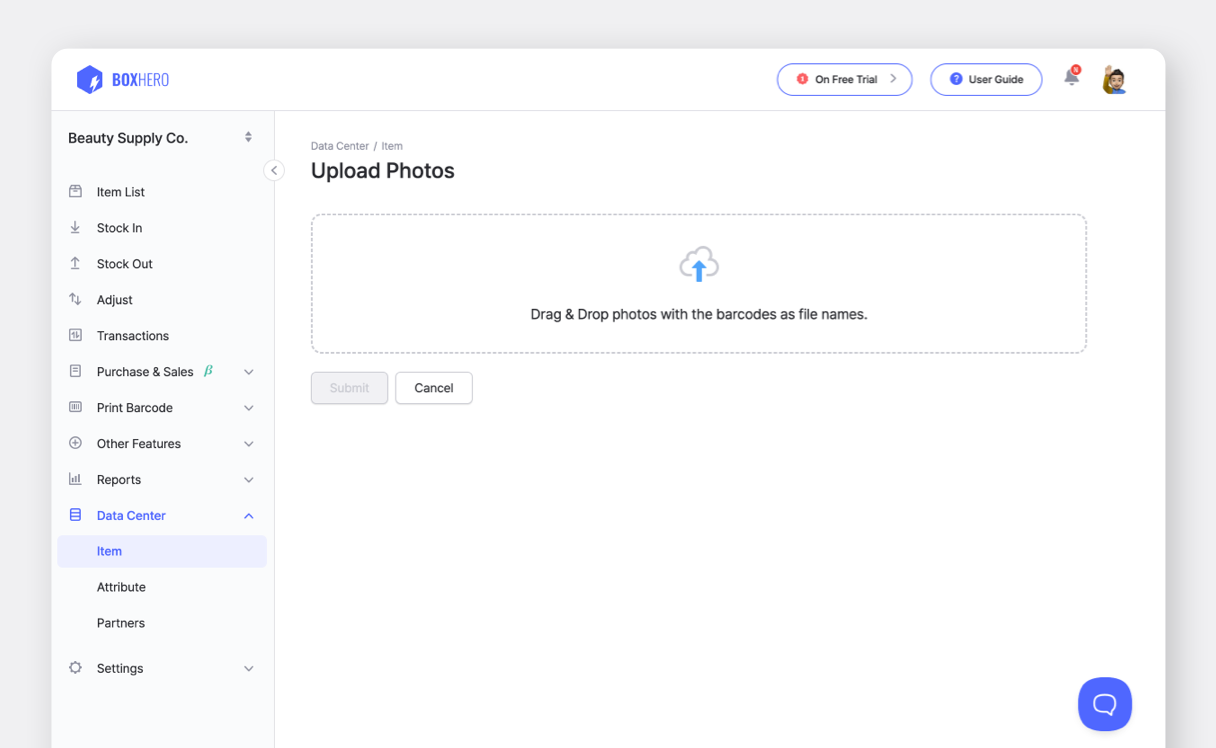
After rebranding, it’s important to update the product images in your inventory management system to avoid any confusion. To add or modify images in bulk, go to the Data Center > Item page, click on the three-dot icon (...) in the upper right corner, and select Upload Photos. From there, you can upload your images to replace the existing ones.
Make sure to rename your image files with the corresponding barcode numbers of the items to ensure they are properly uploaded without errors.
Download Photos before replacing them with new ones. This allows you to save the item images stored in the system.2. Attributes
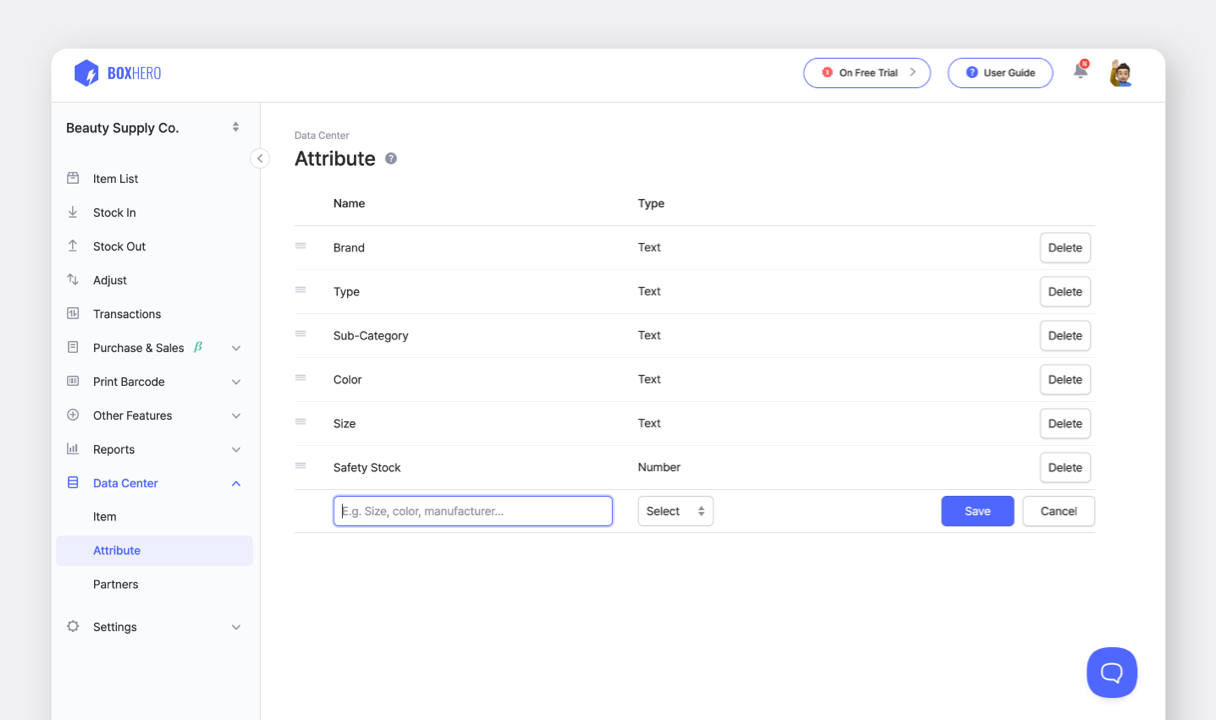
The Attribute section is where you manage customizable item fields such as category, brand, color, and size. BoxHero makes it easy to group items based on these attributes. For example, if you add a “Category” attribute and enter values like “Monitor,” “Keyboard,” and “Mouse,” you can search for “Monitor” to see all the monitor products currently in stock.
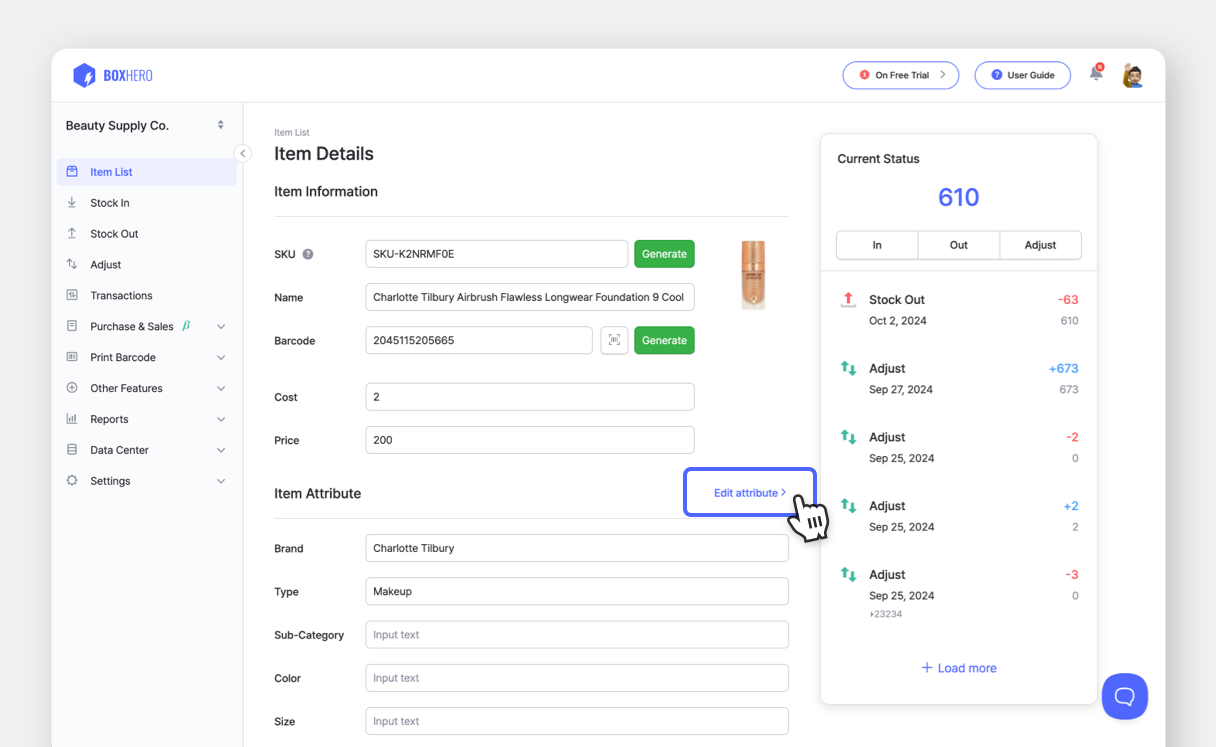
When you edit item information in Item List, clicking on Edit attribute takes you directly to the Data Center > Attribute page.
Here, you can change the order of existing attributes or edit their names. You can also click on + Add to create a new attribute and choose from text, number, date, or barcode as the type.
3. Partners
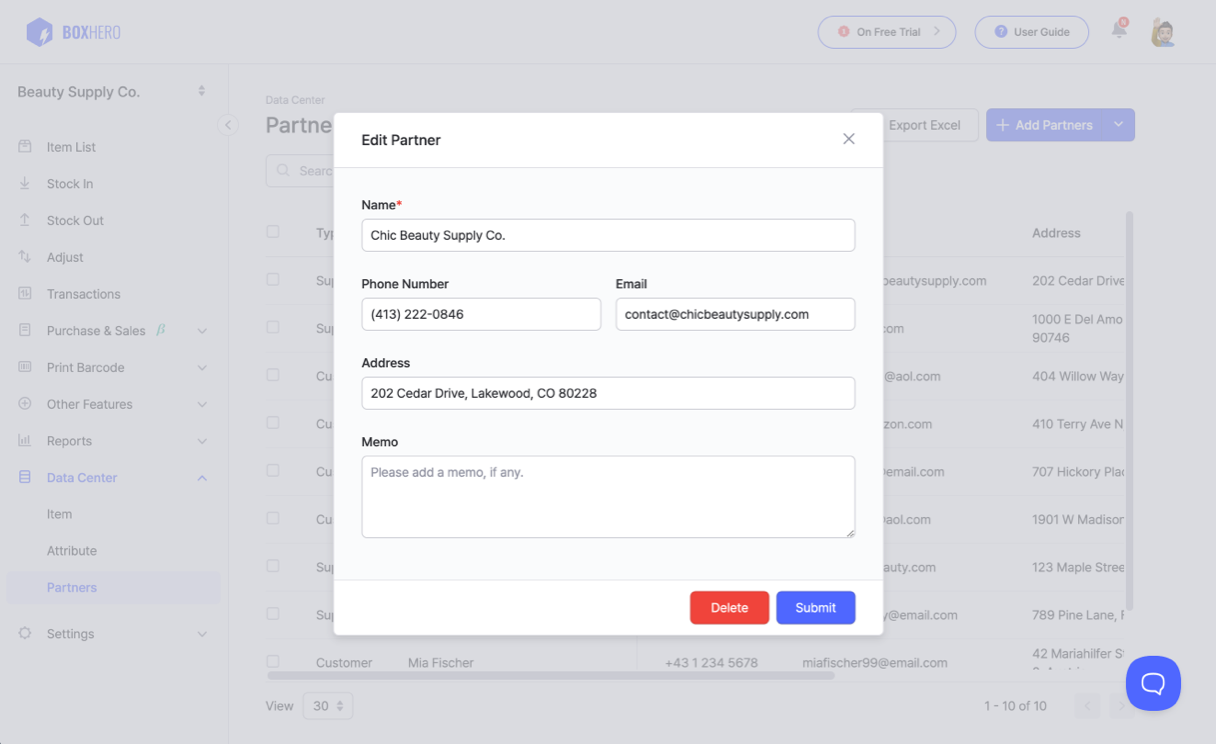
The Partners section is where you manage information about the suppliers and customers involved in your purchase/sales orders and incoming/outgoing inventory.
You can add a new partner by clicking + Add Partners. Furthermore, you can click the down arrow next to that button to use the Import Excel (Suppliers) and Import Excel (Customers) features to add multiple partners at once. If you need to update the partner's phone number or email, you can select the relevant supplier or customer from the list and edit their information.
4. Locations
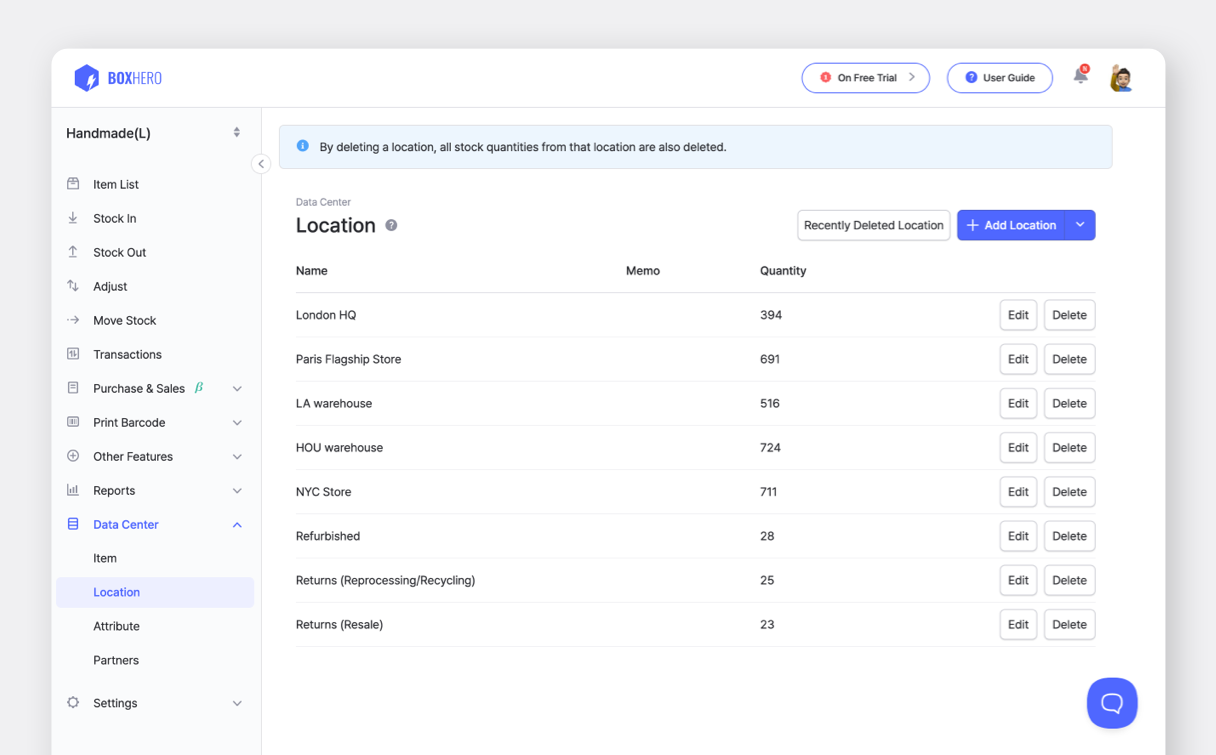
If you're using BoxHero's Location Mode to manage the same item(s) across multiple locations, you can view or edit the different location names, memos, and total inventory quantities under Data Center > Location.
You can also add new locations or restore any locations that were deleted in the last 30 days from this page. This is a great resource for efficiently managing your inventory, whether you're reorganizing your warehouse layout or updating any information for multi-location inventory management.
Accurate data enhances the performance and efficiency of your inventory management solution. BoxHero prioritizes a user-friendly experience, making it easy for anyone to manage their data effectively.
Check out the tips below to practice better inventory management with BoxHero: